Discover insights, updates, and educational content from our medical education experts. Stay informed with the latest trends and developments in healthcare education.
Loading…
Connect with Us!
Feel free to reach out to us for further information!
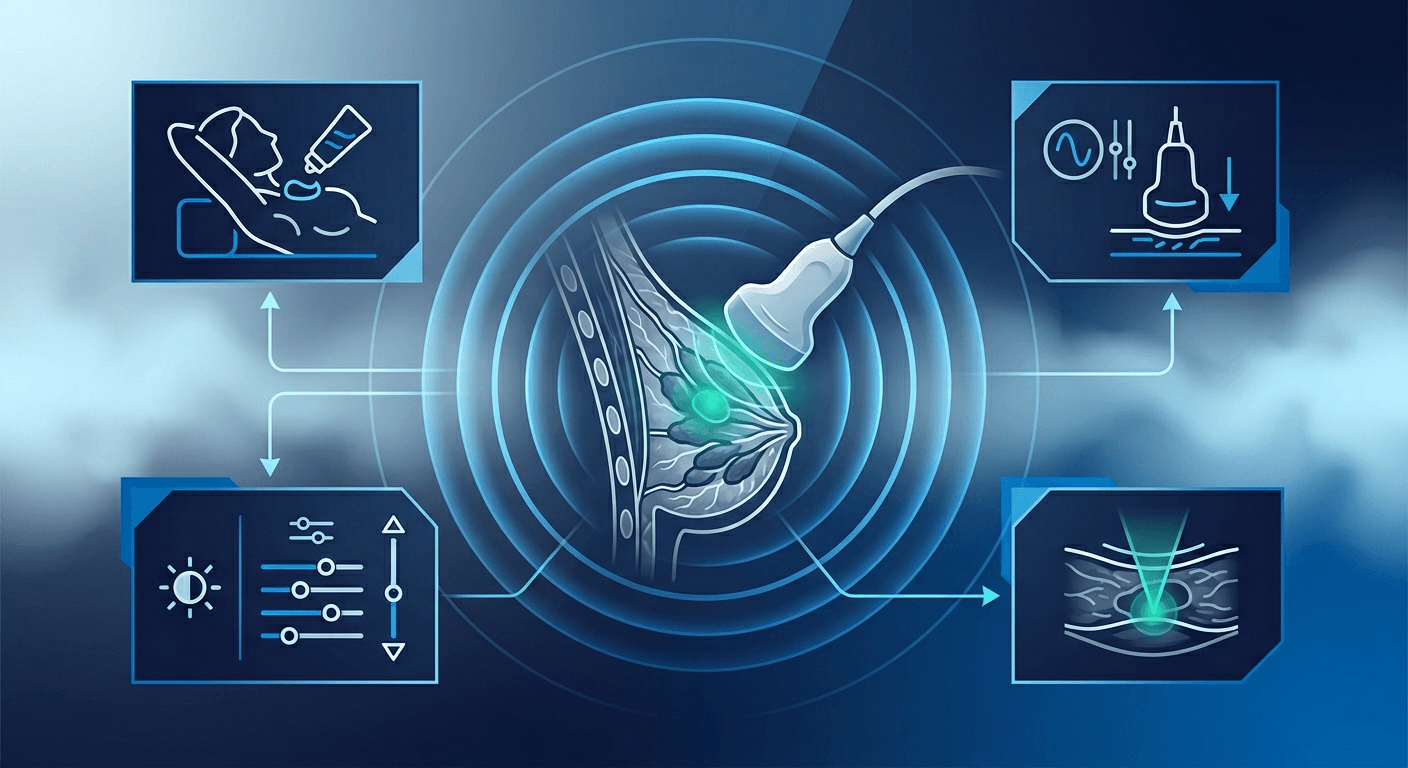
Want better breast ultrasound images? Here's what you need to know:
Use the right transducer: High-frequency probes (10–15 MHz) are ideal for clarity, while 7.5 MHz works better for deeper tissue.
Adjust machine settings: Set depth to fill 75% of the screen, position the focal zone at the target area, and tweak gain for brightness balance.
Master scanning techniques: Position patients based on lesion location, apply the right transducer pressure (optimal at ~600 g), and follow structured scan patterns.
Leverage advanced tools: Use features like tissue harmonic imaging, elastography, and Doppler imaging to enhance detail and reduce artifacts.
Fix common issues: Address artifacts like nipple shadow or motion by improving gel application, patient positioning, and contact consistency.
These steps ensure clear, accurate imaging for better diagnoses. Keep reading for detailed tips on equipment setup, scanning methods, and post-processing adjustments.
Breast Ultrasound Basics
How Ultrasound Works
Using a specialized transducer, high-frequency sound waves are sent into the breast tissue. These waves bounce back at different speeds and intensities, creating echoes that are processed into images by a computer. The system evaluates these echoes based on their brightness (amplitude), pitch (to differentiate tissues), and how long they take to return (depth). When paired with mammography, this method achieves an impressive 97.3% sensitivity for detecting breast cancer, with a low false-positive rate of 2.4% [2].
Understanding these principles is crucial for producing clear and accurate images.
Key Image Quality Elements
To create diagnostic-quality images, four main factors need attention:
Quality Element
Description
Optimization Tips
Resolution
Clarity and detail of the image
Use high-frequency probes and align the focal zone with the target depth.
Contrast
Differentiation between tissues
Adjust gain settings to ensure cyst fluid appears black.
Depth
Effective penetration of sound waves
Match the depth setting to the breast size, from skin to pectoral fascia.
Artifact Reduction
Minimizing image distortions
Enable compound imaging and harmonics for cleaner visuals.
These elements form the foundation for improving image quality.
Equipment Settings: Use high-frequency probes, focus the beam precisely, and adjust the gain curve to account for tissue density.
Anatomical Knowledge: Familiarity with breast zones - premammary, mammary, and retromammary - helps in targeting specific areas effectively.
Scanning Technique: Apply moderate pressure during scans, image in both radial and antiradial planes (including axillary and parasternal regions), and tweak the gray-scale gain so fluid appears black and fat shows varying shades [4].
It’s also worth noting that about 90% of lymphatic drainage goes to the ipsilateral axillary nodes [5], which makes these nodes a key area for targeted scanning.
Modern systems come with advanced tools like compound imaging for sharper edges and harmonics to reduce noise near the probe [3]. By fine-tuning machine settings and applying precise scanning methods, you can elevate the quality of your ultrasound imaging.
Breast Ultrasound – Optimizing Technique
Machine Settings and Setup
Fine-tuning machine settings is crucial for obtaining clear breast images and ensuring accurate diagnoses.
Choosing Transducers
Picking the right transducer is key to effective breast imaging. According to the American College of Radiology, transducers with a center frequency of 12 MHz are recommended for breast imaging [6].
For example, research shows that 13 MHz transducers outperform 7.5 MHz ones in identifying and sizing breast lesions, boosting sensitivity from 83% to 87% [6]. Once you’ve chosen your transducer, adjust the machine settings to fine-tune image quality. Commercial availability of 20-30MHz transducers is becoming more prevalent in the authors experience.
Basic Settings Guide
Here’s how to adjust the essential settings for optimal imaging:
Depth Setting: Set the depth so that breast tissue fills about 75% of the screen, ensuring the area of interest is well-framed [8].
Gain Adjustment:
Use overall gain to make fluid appear completely black.
Adjust Time Gain Compensation (TGC) for uniform brightness across the image.
Fine-tune near-field gain to avoid overexposing superficial structures.
Focal Zone Placement: Position the focal zone at or just above the area of interest [7]. For larger lesions, using multiple focal zones may help [8].
These settings directly impact resolution, contrast, and artifact reduction.
Advanced Settings Guide
Once the basic adjustments are complete, advanced features can further enhance image clarity and reduce artifacts:
Tissue Harmonic Imaging (THI): Activate harmonics for most exams. Use "High" or "Res" settings for shallow structures and "Low" or "Pen" settings for deeper tissues [9].
Speckle Reduction Imaging (SRI): Start with mid-level settings, then fine-tune post-processing after freezing the image to balance artifact reduction and tissue detail [9].
Compound Imaging: Enable this feature with linear or convex transducers to combine images from multiple angles. It’s especially useful for shallow to mid-depth imaging but may need to be disabled if frame rates slow down [9].
These advanced tools help refine tissue detail and minimize artifacts, though their effectiveness can vary depending on the equipment and imaging conditions.
Scanning Methods
Fine-tuning the machine is just the first step; using the right scanning techniques is equally important for achieving clear breast ultrasound images. Once the equipment is set up, a systematic approach ensures better results.
Patient Position Guide
How the patient is positioned plays a big role in image quality and tissue accessibility. The ideal position depends on where the lesion is located:
Lesion Location
Patient Position
Key Details
Medial
Supine with the same-side arm raised
Provides full access to inner breast tissue
Lateral
Opposite posterior oblique
Full decubitus positioning may be needed for larger breasts
Superior
Options: supine, oblique, or sitting
Keep the same-side arm raised
Inferior
Supine with support for the upper breast
Helps flatten the lower tissue
Superficial
Partial erect position
Best for surface-level, palpable lesions
Adjust the position as needed during the exam to get the best scanning angle. Once the patient is positioned correctly, the next step is to focus on how the transducer is handled.
Transducer Use Tips
Applying the right amount of pressure with the transducer is key for better acoustic transmission. Research shows that transmission improves with pressure starting at 200 g (0.44 lb) and peaks at 600 g (1.32 lb). However, going beyond 700–1,400 g (1.54–3.00 lb) can reduce efficiency [10].
Here’s how to ensure consistent image quality:
Begin with light pressure (around 200 g/0.44 lb).
Gradually increase to the optimal level (600 g/1.32 lb).
Keep steady contact while avoiding too much compression.
Adjust pressure based on the density of the breast tissue in different areas.
Standard Scan Patterns
With the patient positioned and transducer pressure optimized, use a structured scanning pattern to cover all areas thoroughly:
Start with a clinical breast self-examination (BSE) to confirm any palpable masses [5].
Perform a bilateral ultrasound using methods like:
Post-processing tools play a key role in improving image quality and aiding in accurate diagnoses. Modern systems come with features designed to refine breast tissue visualization.
Contrast and Brightness Adjustments
Fine-tuning contrast and brightness is the first step in improving image clarity:
Tool
Purpose
Best Practices
Gain Control
Adjusts overall image brightness
Begin with moderate settings and tweak based on tissue depth
Time Gain Compensation (TGC)
Brightness adjustment at specific depths
Increase gain for deeper tissue, decrease for near-field
Dynamic Range
Manages gray shade distribution
Aim for 50–60 gradations for clear viewing
Gray Maps
Modifies brightness for individual shades
Adjust to suit your monitor's capabilities
For the best monitor setup, set contrast to 90–100% before adjusting brightness [9].
"The gain knob adjusts the overall brightness of the ultrasound image and will most likely be your go-to for imaging control." [9]
Once brightness is optimized, Doppler imaging can provide deeper insights into tissue vascularity.
Doppler Imaging Tips
To get the most out of Doppler imaging:
Adjust gain, baseline, and sweep speed to suppress noise.
Use suitable color schemes for better visualization.
Apply angle correction after freezing the image.
When examining arterial regions, look for frequency-free windows to minimize artifacts [11].
Elastography techniques can also offer additional details about tissue characteristics.
Elastography Techniques
Modern systems typically include two elastography options:
Shear Wave Elastography (SWE):
Suspicious readings: Over 80 kPa
Malignancy indicators: Over 120 kPa
Higher specificity compared to B-mode imaging (77.4% vs. 69.4%) [12]
When using elastography, apply minimal probe pressure to avoid inflated elasticity readings [12]. Combining these tools with proper machine settings and scanning techniques ensures consistently high-quality breast ultrasound images.
Common Image Problems
Addressing common image quality issues is crucial for obtaining reliable diagnostic results. Here's an overview of common challenges and how to tackle them.
Artifact Reduction
Artifacts can interfere with image clarity, but specific techniques can help minimize their impact:
Artifact Type
Characteristics
Solution
Nipple Shadow
Dark shadow behind the nipple
Use plenty of gel and apply nipple shadow reduction algorithms [13]
Reverberation
Parallel echoing lines
Ensure adequate gel and apply reverberation removal techniques [13]
Motion
Zigzag line patterns
Ask the patient to breathe shallowly to reduce motion artifacts [13]
Contact
Dark areas near the skin surface
Maintain good transducer contact and use sufficient gel [13]
For example, a 41-year-old woman’s scan initially showed a hypoechoic lesion. However, upon further review, it was identified as a reverberation artifact characterized by parallel echo lines [13].
Dense Tissue Techniques
Ultrasound is particularly effective in detecting cancers that may not appear on mammograms. Studies show that more than 85% of cancers detected solely through ultrasound are invasive but caught in early stages [14][15].
To improve imaging in dense tissue:
Adjust depth settings to include the entire target area.
Incorporate Doppler imaging to analyze blood flow, which helps in better tissue characterization.
These adjustments provide a foundation for tailoring scans to individual patient needs.
Patient-Specific Adjustments
Customizing your approach based on a patient’s unique characteristics can further enhance image quality.
Breast Size Considerations: For larger breasts, ensure depth settings are well-calibrated and use multiple scan positions for full coverage. Proper gel application and consistent transducer contact are essential.
For instance, a 44-year-old woman’s scan initially suggested an irregular hypoechoic lesion. Closer inspection revealed it was a contact artifact caused by insufficient transducer contact, with the actual mass located deeper [13].
Personalizing techniques not only improves image accuracy but also supports continuous learning and skill development.
Education and Training Resources
Staying proficient in breast ultrasound demands regular learning and skill enhancement. IAME provides ACCME-accredited courses tailored to help medical professionals refine their expertise.
IAME offers a variety of ACCME-accredited courses designed to enhance skills in breast ultrasound. With more than 150 ultrasound-related courses across 10 specialties, healthcare providers can access training to improve diagnostic accuracy.
Here’s a snapshot of their educational options:
Course Type
Features
Key Takeaways
Introduction to Breast Imaging
1 CME credit, hands-on techniques
Builds a strong imaging foundation
Specialty-Focused Modules
Unlimited access, ACCME-accredited
Develops advanced technical skills
Advanced Imaging Techniques
Premium content, lifetime access
Supports ongoing skill improvement
Pricing plans include annual CME access for $109.99, Unlimited CME Plus (2025–2026) for $179.99, and lifetime physician access for $699.99.
CME Credit Requirements
IAME makes it easy for professionals to meet CME credit requirements while maintaining their certifications. Their system integrates with major certification bodies like ACCME, MOC, ARDMS, and CCI. Features include automatic credit transfers, permanent credit storage for audits, and access to AMA PRA Category 1™ Credit courses.
This streamlined approach allows practitioners to focus on improving their skills while staying compliant with certification standards. Regular participation in these programs ensures top-quality imaging and accurate diagnostics in breast ultrasound.
Summary
Improving breast ultrasound image quality involves combining technical skills with ongoing education and training.
For instance, advanced tools like the conformable ultrasound breast patch (cUSBr-Patch) offer impressive capabilities. They can image depths of up to 3.15 inches (80 mm) with an axial resolution of about 0.01 inches (0.25 mm) at a depth of 1.18 inches (30 mm). This precision allows detection of abnormalities as small as 0.04 inches (0.1 cm) [16].
Key strategies for optimization include:
Equipment Settings: Fine-tuning transducer frequency, gain, and focus to enhance tissue detail.
Scanning Techniques: Proper patient positioning and consistent scan patterns to ensure reliable image capture.
Post-Processing Adjustments: Techniques like contrast tuning, harmonic imaging, spatial compounding, and elastography to improve clarity and diagnostic value.
KEEP YOUR SKILLS UP TO DATE AND IMPROVE PATIENT OUTCOMES WITH AN ANNUAL IAME.COM MEMBERSHIP
The Accreditation Council for Graduate Medical Education (ACGME) highlights the importance of understanding ultrasound physics and equipment operation. This underscores the need for ongoing training through ACCME-accredited programs to maintain diagnostic accuracy [1].